Typical applications overview
Non-contact dimensional measurement
Non-contact dimensional measurement is an easy and very fast way to check product quality. With the right choice of camera system, accuracies of up to 0.01 mm can be achieved.
The basis of optical, non-contact measurement is the precise localization of the edges of the measured dimensions, a sufficient number of sensor pixels per unit of the measured dimension and high-quality illumination.
Non-contact dimensional measurement is most often used for:
- automation of dimensional measurement in mass production
- making operators' work faster and easier
- easy and automatic archiving of measured dimensions and images
Camera robot guidance
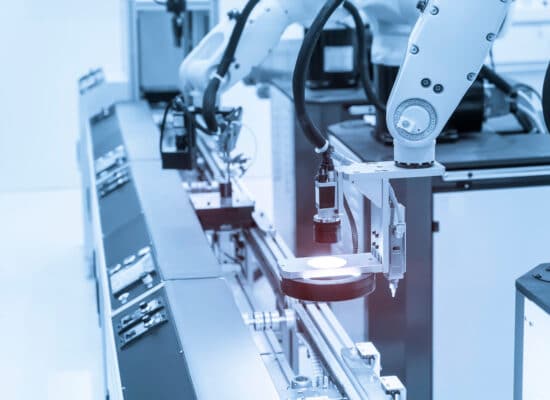
Machine vision can also be used for very reliable and precise guidance of robot to unknown oriented parts. The accuracy with which a randomly positioned and oriented part can be detected is up to ± 0.05 mm. Camera guidance of the robot is used in cases of maximum automation - when there is no operator present in the process or for part establishment, or in cases where greater accuracy is required than a human can reliably and repeatedly offer.
Camera robot guidance is most often used for:
- pick & place automation
- increased accuracy and reliability compared to humans
- increasing the variability and autonomy of the robotic workplace.
Production completeness check
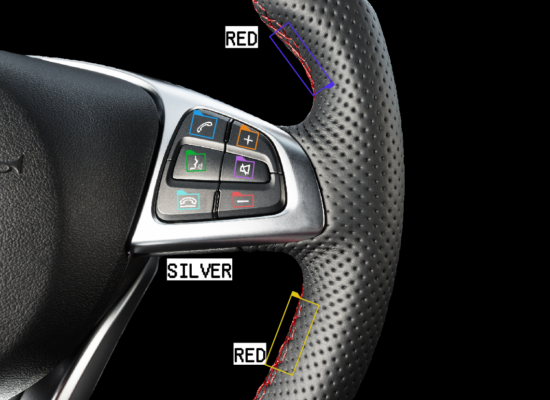
Product completeness checking is a necessary part of almost any production today. Many products are made up of multiple parts and it is necessary to carefully check that all components are in the correct position and of the required quality.
Camera inspection of the completeness of assemblies can also maximize the reliability of manual workstations where, in conjunction with the clamping mechanism, the completed part will not come loose until it contains all its components in the right place or the assembly is in the correct sequence.
Production completeness check is most often used for:
- increasing the reliability of manual assembly workplaces
- reduction of complaints from your customers
- optimization of the assembly process and checking whether the assembly takes place in the prescribed order
Neural Networks and Artificial Intelligence
Using artificial intelligence and deep learning, neural networks make it possible to solve previously intractable quality control problems. While the classical approach relies mainly on the pre-known shapes and locations of the inspected areas and their defects, our trained neural networks are able to detect unpredictable defects at all locations of the inspected object.
Neural networks and Deep learning is most often used for:
- detection of unpredictable surface defects - corrosion, scratches, chips and various defects in metals, glass, wood and other materials
- distinguishing almost identical parts or shapes and checking the correct orientation of easily interchangeable parts.
- checking for any deviation from the correct condition of the parts - the network learns the appearance of the correct product and automatically detects even minor deviations.
Object sorting
Machine vision can also be used for extremely fast Object sorting Třídění a klasifikace může probíhat na základě libovolných vizuálních parametrů – barva, tvar, logo, velikost…
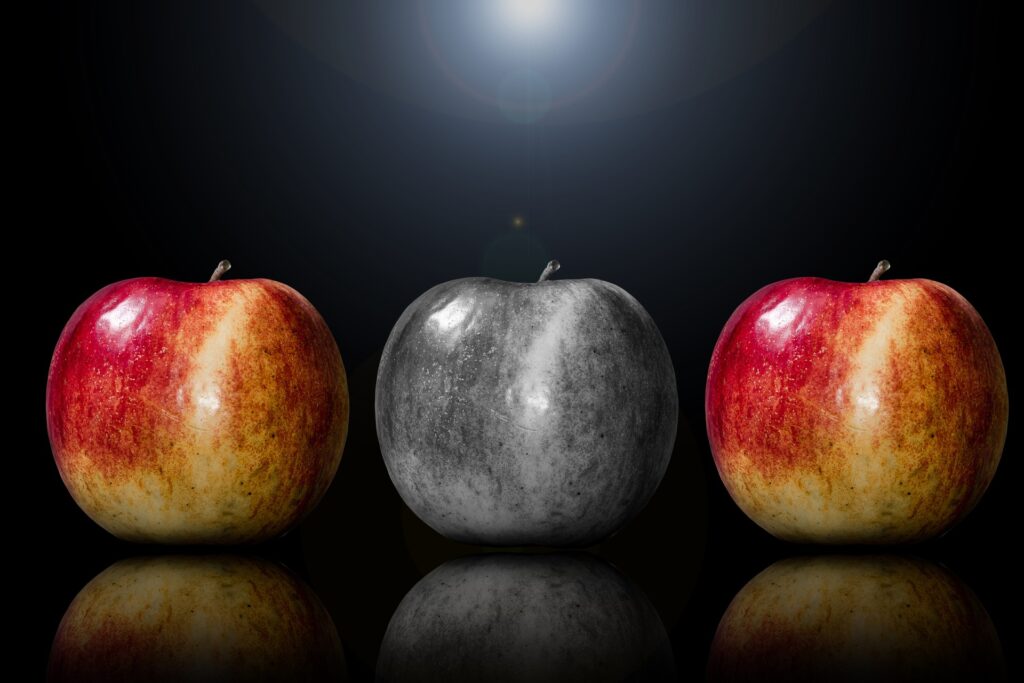
Products can be sorted not only into quality and poor quality, but also into various predefined quality classes - it's up to you.
Check marking and text (OCR)
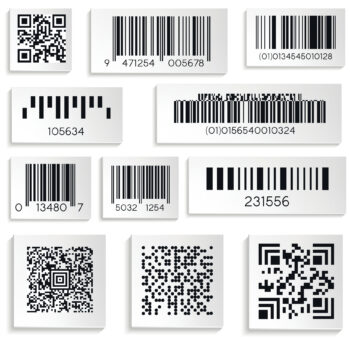
Using industrial cameras, we can not only check the quality of all codes used on the market, but also read the information contained in them and send it to the control system. With us, no duplicate or illegible markings will be missed.
Thanks to our software, we can read any marked codes even at an angle and in adverse conditions. Our software transforms a code marked or glued at an angle into a plane and checks it.


